HELITE AIRBAG
SERVICING AND REPAIRS
SERVICING
For daily road use, we recommend an annual service . For leisure users riding at weekends and holidays, once every two years is an appropriate minimum service interval. Remember you must have your Airbag Jacket or Vest serviced before it is 2 years old to qualify for the extended warranty period of 4 years in total from purchase.For GP AIR Race and Track vests we recommend an annual service.
WHAT YOU CAN DO YOURSELF
We follow a simple W.E.A.R acronym:W - WIPE – wipe off after riding. When needed, follow the CLEAN or WASH guidance below.
E - EXAMINE – velcro/stitching for integrity, particularly after an inflation.
A - ACTION – check the action of lanyard and security clips/zips.
R - RIDE – always check your lanyard is connected / electronic trigger enabled before riding
Once a year, remove your CO2 Canister and check its weight meets the value on its label. Digital kitchen scales are ideal.


BOOKING
A SERVICE

CHOOSING THE RIGHT SERVICE FOR YOU
You can choose between our STANDARD or VIP service. When you are ready, use our online tool to book.UK SERVICE CENTRE
All textile servicing is done at the Love Life and Ride South Africa Service Centre, near Leeds. Leather products are currently serviced in France.STANDARD SERVICE CHECKS
Your standard service includes checking:- VISUAL APPEARANCE – Cuts/Tears/Abrasions/Cleanliness.
- CONDITION OF COMPONENTS – Velcro/Stitching etc.
- FUNCTION – Buttons/Clips/Zips.
- CORRECT AIRBAG SHAPE
- OVERINFLATION PRESSURE
- TRIGGER – Visual Appearance & Condition.
- KEY-BALL – Steel Cable/Correct Rotation/Mechanical Integrity
- PISTON – Needle/Joint/Corrosion/Burr.
- SPRING – Corrosion/Movement.
- CAP – Paint/Correct Screwing.
- SADDLE STRAP – Elasticity/Clip Function.
- TRIGGERING – Test Force Resistance.
- CO2 CANISTER – Weight/Visual Appearance.
TURN AROUND TIME
For textile products, allow 7 days from receipt. Most servicing is done 'next day' but we need to allow for time to contact you if there is any remedial work needed and to allow for returning the item to you. Leather products are currently serviced in France and take 2-3 weeks.LOAN AIRBAG VEST
You can book a loan vest, just select VIP SERVICE when you make your booking. Loan vests are provided under our Terms and Conditions of Rental. Late return a loan vest may attract additional fees.SERVICE REPORT
A full service report is included for your information.BOOK SERVICE


HELITE VIP
AIRBAG SERVICE
VIP SERVICE
This includes the following in addition to the standard service:- LOAN HELITE AIRBAG VEST* - for your use until your service is complete
- COURIER COLLECTION AND DELIVERY - to and from your address
- REPLACEMENT CANISTER - a brand new CO2 canister to fit your Airbag Jacket or Vest
* Terms and Conditions of Rental apply and subject to availability. The loan vest supplied is available for you to use on your own bike until we return yours.


CLEANING
AIRBAG VESTS


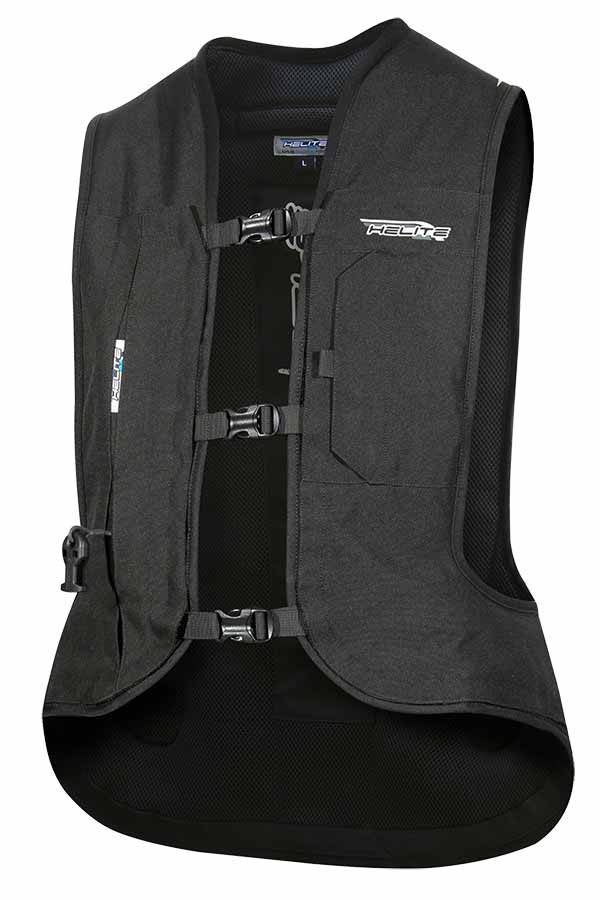
HOW TO CLEAN YOUR HELITE AIRBAG VEST
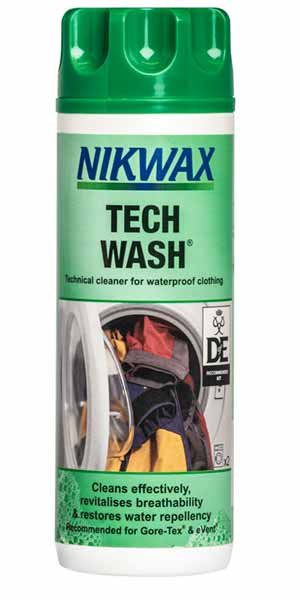
Keeping your HELITE Turtle airbag vest clean is best achieved by wiping down regularly. If you need to clean more thoroughly, we recommend sponging down using NIKWAX TECHWASH.TIME NEEDED
Allow 20 minutes, then allow to dry naturally for 24 hoursEQUIPMENT NEEDED
- 300ml NIKWAX TECHWASH
- Sponge
- Micro-fibre Cloths
- Old Towel
- Coat Hanger
- Plastic Bowl
PREPARATION
Hang an old towel over the top of your shower cubicle to prevent accidental scratching. Place the vest on a suitable hanger, and hang over the towel inside the shower.CLEANING
Dilute your TECHWASH in warm water following the instructions for hand washing. Using the sponge, apply and work up a lather on the affected area. Light, circular motions work best. Avoid heavy pressure, especially on any reflective areas. Do not use solvents of any kind. Be gentle! More stubborn marks may be removed using a micro-fibre cloth. Only use gentle, circular motions.Rinse thoroughly with luke warm water. Turn and repeat on the other side. When complete allow to dry naturally.
TOP TIPS
Avoid the trigger mechanism as much as possible. To improve household harmony, best avoid busy times in the bathroom :-)


WASHING
TEXTILE AIRBAG JACKETS

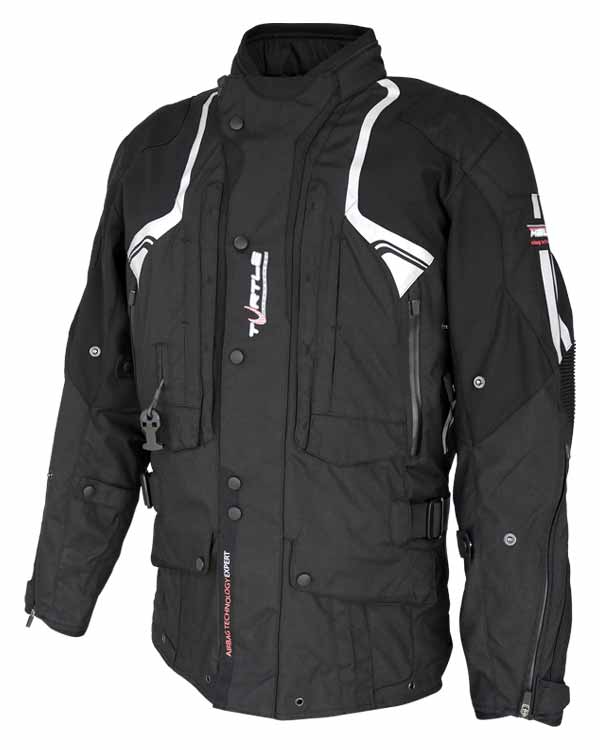
HOW TO WASH AND REPROOF YOUR HELITE TOURING AIRBAG JACKET
Keeping your HELITE Touring / Adventure airbag jacket clean is best achieved by wiping down regularly. If you need to clean more thoroughly, we recommend washing and reproofing using NIKWAX TECHWASH and TX DIRECT.TIME NEEDED
Allow 10 minutes for airbag removal, 45 minutes for machine wash and then allow to dry naturally for 24 hours. Refitting the airbag system will take 15 minutes.EQUIPMENT NEEDED
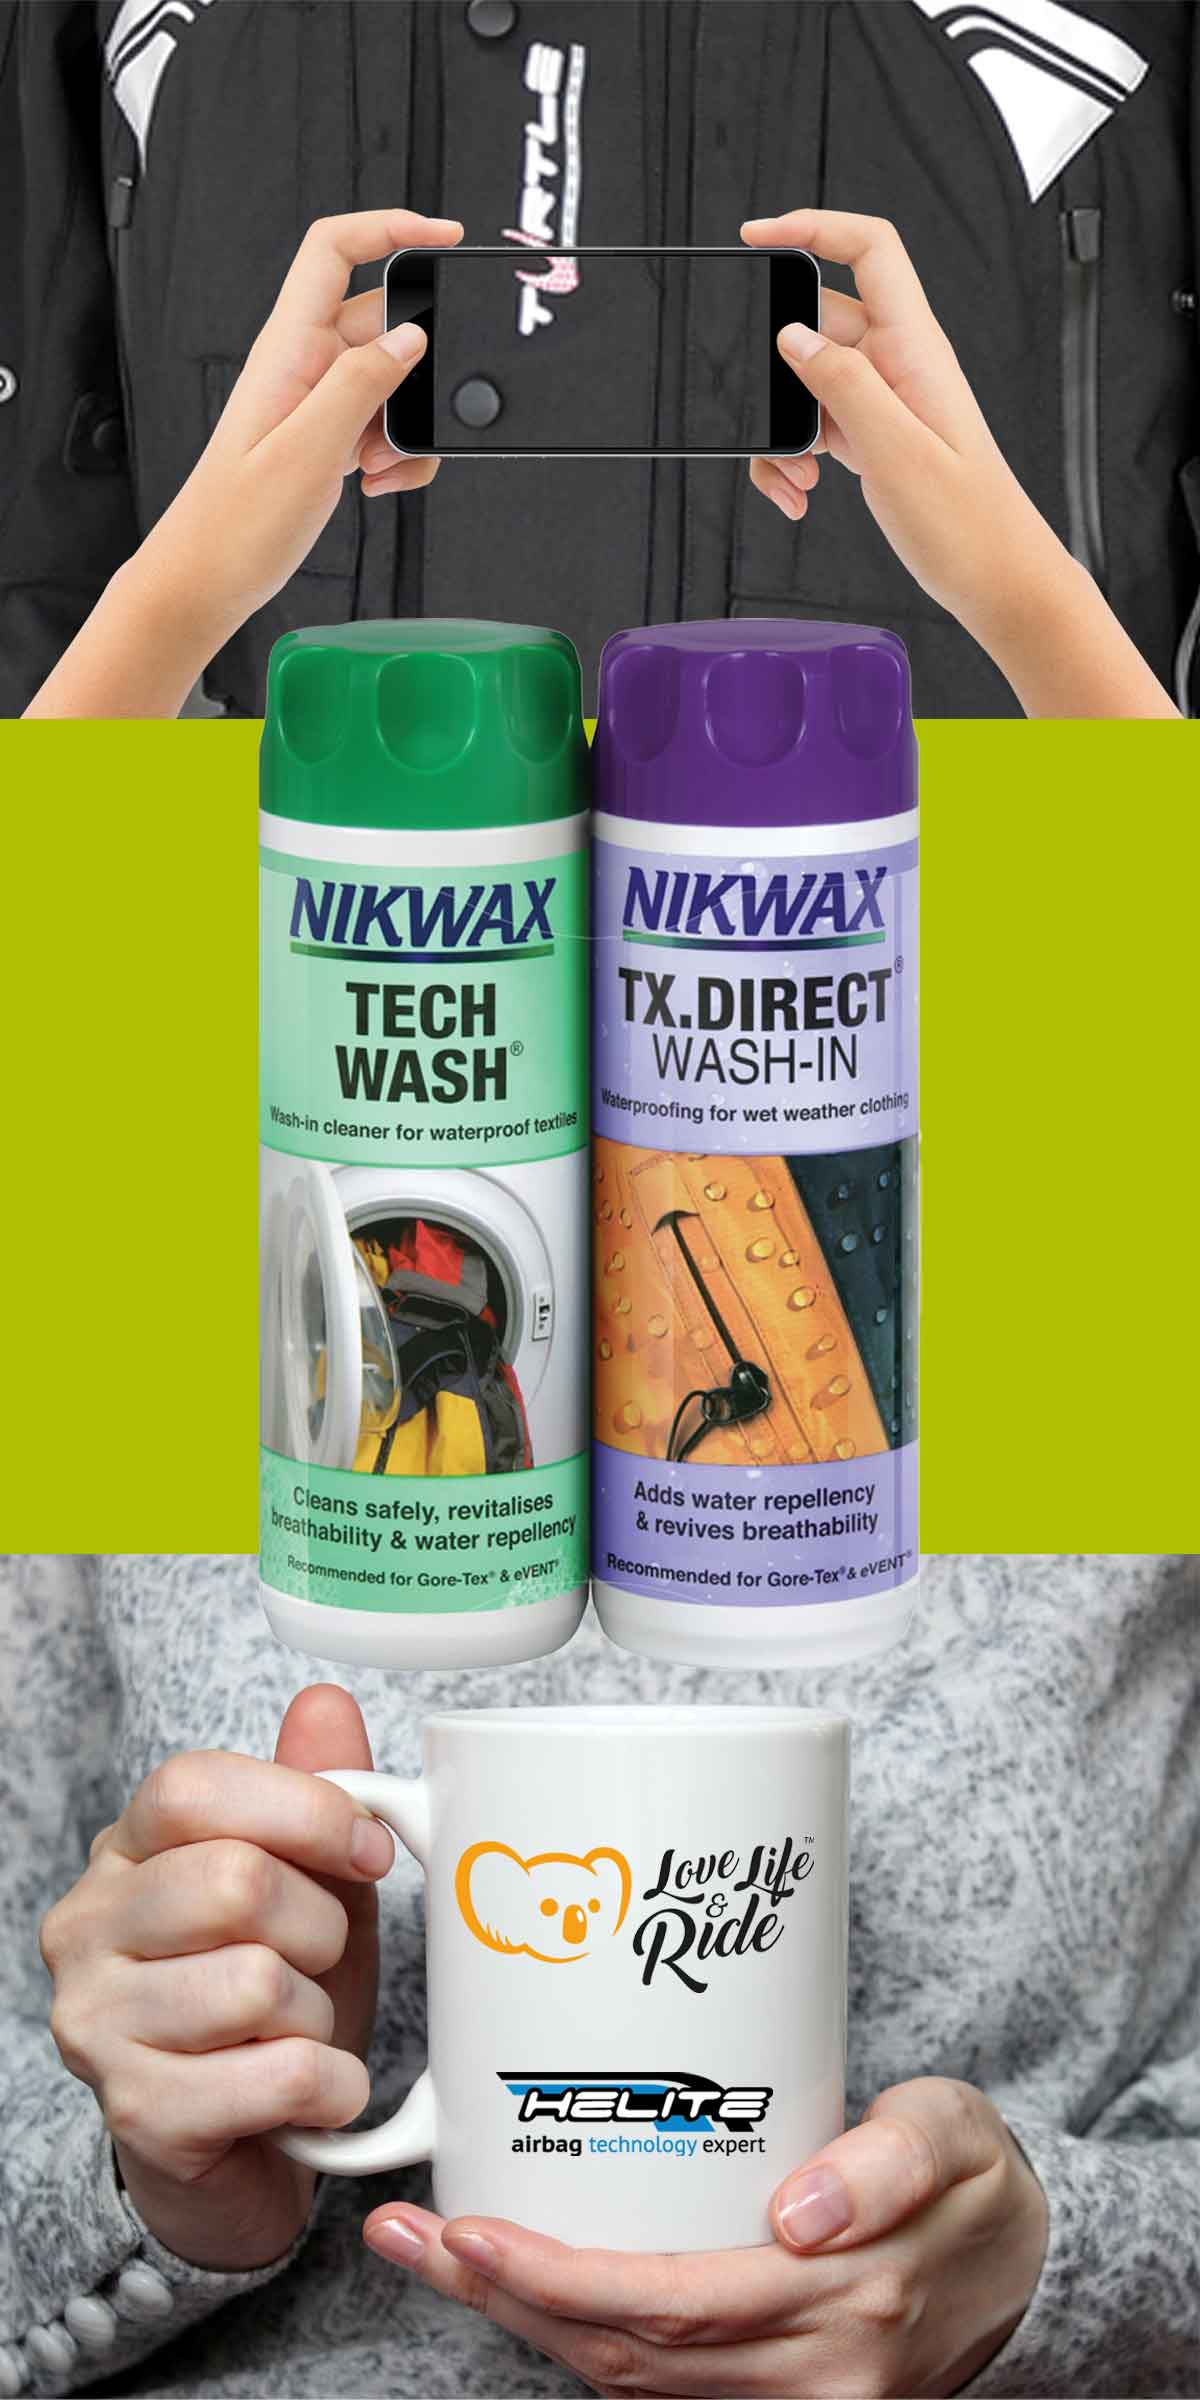
- 300ml NIKWAX TECHWASH / TX DIRECT PACK
- Old Towel
- Table
- Washing Machine
- Mobile Phone for photos
PREPARATION
Clear a table in a well lit area and place an old towel over the top to prevent accidental scratching. Place your jacket facing you and working systematically, check and empty all pockets, including the interior and rear if applicable.HOW TO REMOVE THE CANISTER
Locate the canister pocket, open and unthread the trigger pull. Unscrew the canister and set aside.HOW TO REMOVE QUILTED LINER
Opening the jacket, unzip the quilted liner. Locate the 2 retaining buttons in each sleeve and release from elastics. Remove the quilted liner and set aside for washing separately.HOW TO REMOVE AIRBAG
Place the jacket open facing you on the table with the hem nearest you. Locate and open the long zip that runs across the lower hem . Lifting the jacket liner will reveal the airbag system. If you can, ask a helper to hold the jacket liner open for you. Note the airbag is coloured GREEN on the side facing you, BLACK facing away. Take a moment to locate the two top short zips at the neck of the jacket. Take photos with your phone to show how the airbag is threaded through the back protector carrier. Take photos as you undo each colour coded short zip.Thread the airbag through the back protector carrier, noting how it is fitted. Take photos as you go. Working anti clockwise from the bottom, locate and separate each velcro securing tabs. These are colour coded and support the airbag within the jacket outer. Take your time and be gentle, when all are located the airbag will come away from the outer. If it does not, likelihood is you have missed some. Note the position of the velcro tabs supporting the neck section of the airbag. Locate the velcro securing the trigger to the front of the jacket, carefully separate from the jacket outer. Take plenty of photos. Once free, remove and set the airbag system to one side. Arrange the airbag as though it was in the jacket, green side facing you, take a photo.
HOW TO REMOVE ARMOUR
Locate and remove the elbow and shoulder armour, noting the position and orientation.TOP TIPS
The quilted liner has colour coded sleeve buttons and securing elastics to avoid twisting. Taking lots of photos will help you when it comes to putting the airbag back into the jacket. A helper is useful to support the jacket liner whilst you remove / replace the airbag system.HOW TO WASH AND RE-PROOF
Place the jacket outer only in the washing machine. Following the instructions on the TECHWASH bottle, place the required amount of capfuls into the drum in place of detergent. Pour the correct amount of TX DIRECT into the fabric conditioner tray. Select 'WOOL WASH' or 'DELICATES' cycle on the washing machine and 30 degrees.Put the kettle on, make a cup of refreshing tea :-)
Once the cycle is complete, hang the jacket to dry naturally. DO NOT TUMBLE DRY.
HOW TO REFIT JACKET AIRBAG
Put the kettle on. Review your photos and steps you took over a cup of tea :-). Relocate the armour in shoulders and elbows. Remind yourself of the airbag orientation. Clear a table and place the jacket on a towel to prevent scratching. Recruit a helper to hold the jacket inner open for you. Refit starting with the trigger mechanism, working your way around the velcro tabs clockwise. Complete with the two small zips at the top of the back protector. Remember that the airbag should not be twisted and GREEN side should be facing you. When all is in place, close the wide zip across the hem.Refit the quilted liner if required. Refit the CO2 canister, and thread the trigger pull through the grommet. Close the zip into the canister pocket.